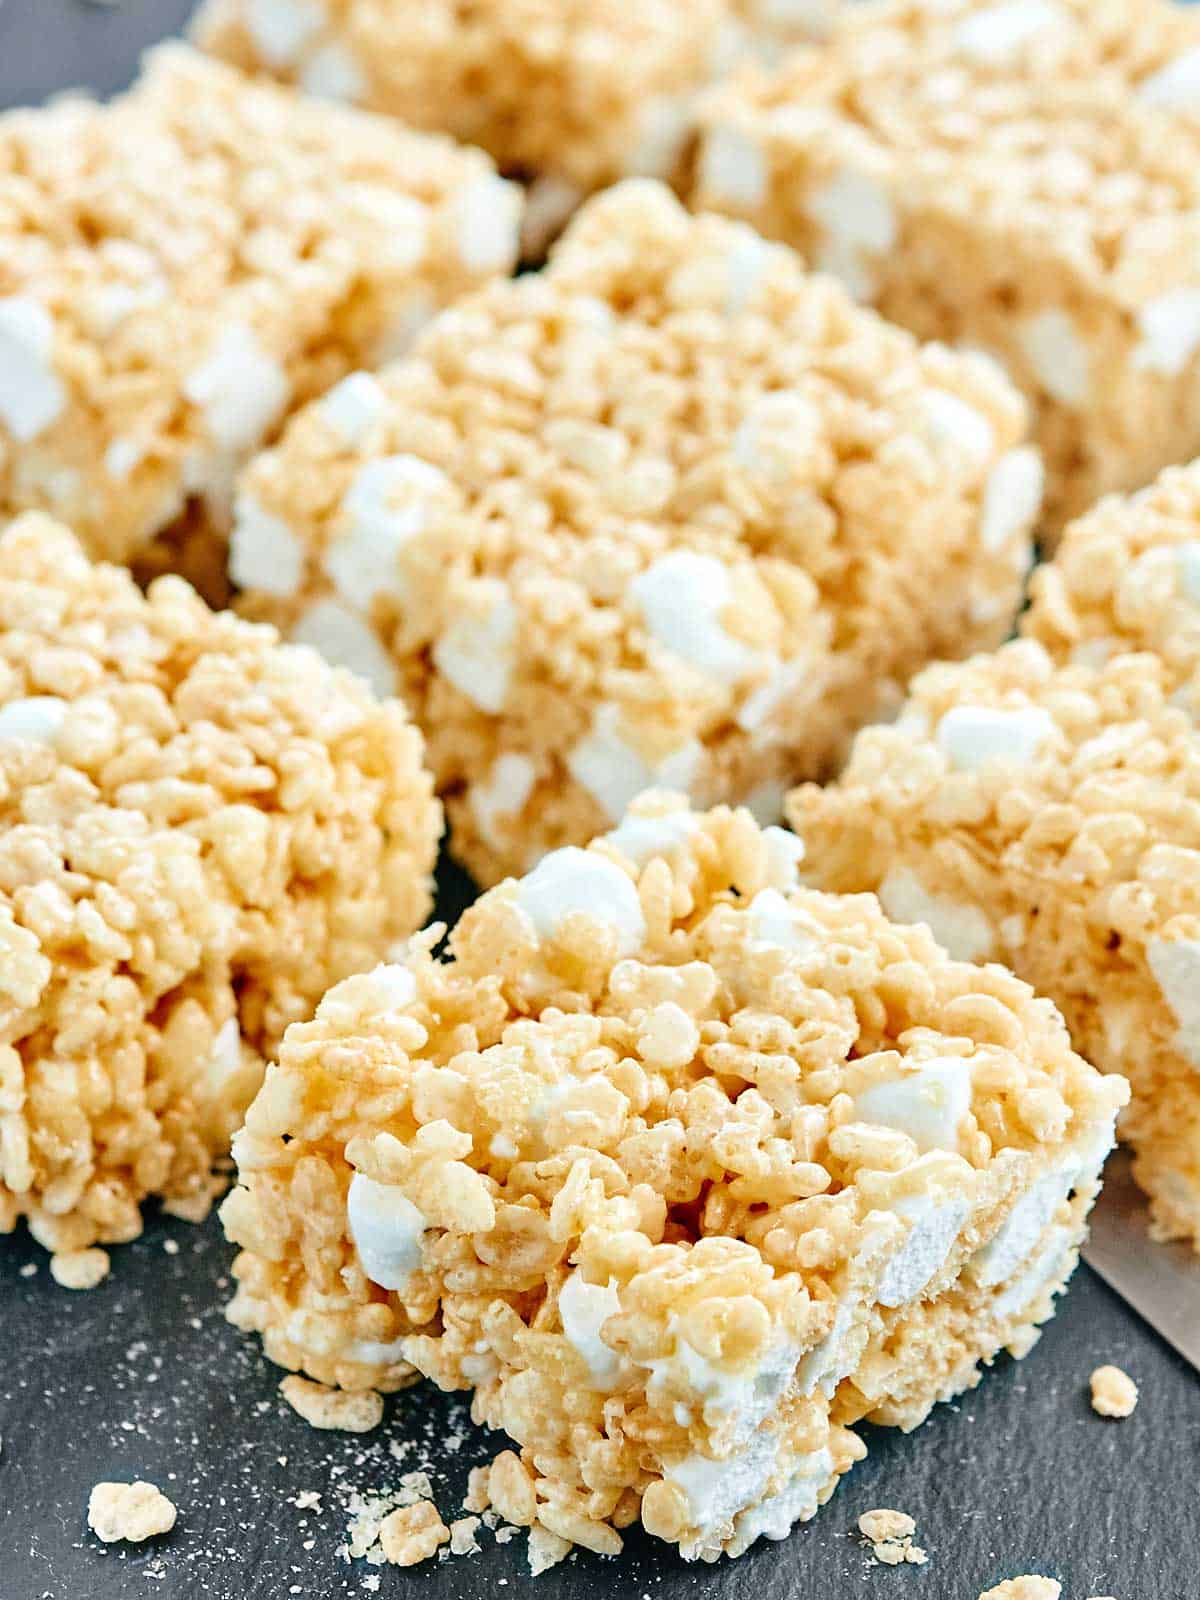
The ratio of cereal to marshmallow makes or breaks a rice krispie treat… literally! For extra gooey and buttery rice krispie treats, use this recipe. The addition of a little extra butter and marshmallow, plus a splash of vanilla extract and a pinch of salt, makes all the difference.
I wasn’t going to publish this recipe because, really, how many ways can one make a rice krispie treat? (Hello, cake batter rice krispie treats, pumpkin pie rice krispie treats, and s’mores rice krispie treats from forever ago!) The internet is flooded with these classic marshmallow-cereal squares, but I figured you might like to know how I’ve been making them over the years…? Maybe? Hopefully?
This is, without question, the best way to make rice krispie treats and I have a few tricks up my sleeve to guarantee that the treats are extra marshmallow-y, extra gooey, extra buttery, extra flavorful, and extra AWESOME. I make these whenever I need a quick and guaranteed crowd-friendly dessert. In fact, I just served a double batch at a big cookout over the weekend. Not a single square left. They are also the perfect treat to include in our list of back to school recipes.
Crispy rice treats are a totally retro dessert and once you take that first bite, you’re instantly reminded why they’re a staple. So good!!
You only need 5 simple ingredients for these no-bake squares.
Melt the butter and marshmallows in a big pot on the stove, then remove from heat and gently stir in the remaining ingredients. I just use my handy 5.5-quart Dutch oven. Any similar size works great!
An important factor in a rice krispie treat recipe is the ratio of marshmallow to cereal. Too much cereal and the squares will taste dry, crunchy, and bland. Too much marshmallow and the squares will be too sticky and fall apart. The best ratio for a 9×13-inch baking pan is two 10-ounce bags of mini marshmallows (566g, or about 11 heaping cups) and 9 cups of cereal (270g).
To prevent any kind of sticking, line your baking pan with greased parchment paper. I just lightly spray the parchment paper with a little nonstick spray.
Do you want an extra buttery melt-in-your-mouth marshmallow square? Of course you do. In order to achieve this, do NOT pack the rice krispie treats down into the baking pan. Use greased fingers or a greased spatula to softly spread and stretch the mixture into the pan, then use a flat spatula to very gently press the mixture down. Do not compact it with force, otherwise your treats will be thin and hard. Instead, just lightly press the treats down into the pan. Butter the back of a flat spatula or spray with a little nonstick spray to prevent sticking. Your treats will be soft yet crisp and not overly crunchy.
That’s basically it! I don’t need to convince you that rice krispie treats are delicious, but I hope you try these little extras (the vanilla, salt, ratio of marshmallow to cereal) the next time you need a recipe for these marshmallow squares.
This is our favorite recipe for classic rice krispie treats. Adding a little extra butter and marshmallow, plus a splash of vanilla extract and a pinch of salt makes all the difference! Let them set for at least 1 hour before cutting into squares.
Adapted from Kellogg’s
Source: https://sallysbakingaddiction.com/rice-krispie-treats/