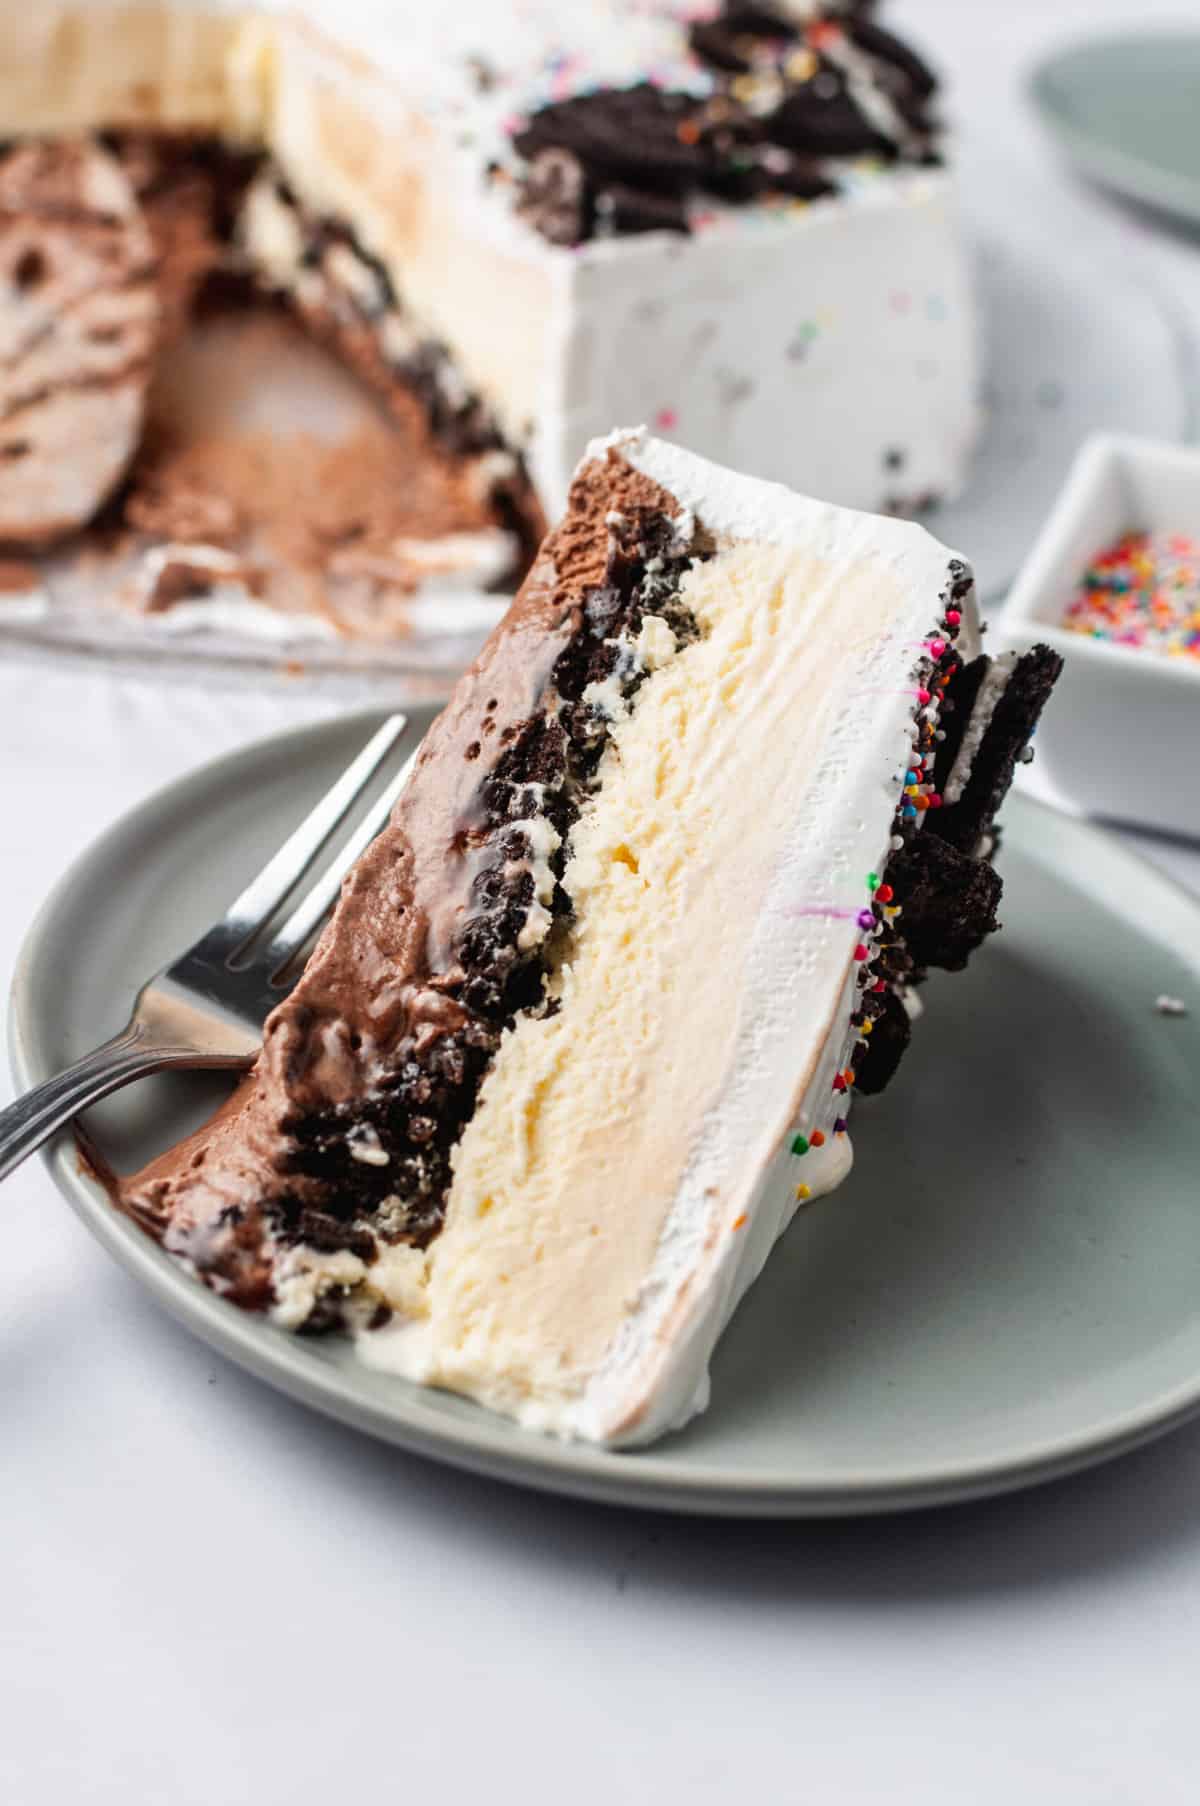
Chill out with a slice of ice cream cake! This crowd-pleasing, totally no-bake Dairy Queen-inspired treat combines two of your favorite ice cream flavors, plus layers of crunchy Oreo cookies, homemade hot fudge, and whipped cream. Because this cake needs to freeze for at least 12 hours prior to serving, it’s a great make-ahead dessert for celebrations.
Need a celebratory ice cream dessert? Obviously it’s easiest to just pick up a ready-made ice cream cake from the grocery store or ice cream shop, but if you’ve never made an ice cream cake before, I encourage you to try it at least once!
It requires a few back-and-forth trips between the freezer and counter, but other than that, it’s surprisingly easy—absolutely no baking and very few tools and ingredients needed.
And just wait for the moment the jaws drop open when you tell your guests you made this yourself! (And they’ll pretty much remain open until their plates are licked clean. I know this from experience.)
You can use any flavors of store-bought ice cream you want. Chocolate + strawberry is a favorite combination in my family, but you could also try: chocolate + peanut butter, chocolate + mint chip, cookies dough + chocolate, or coffee + cookies and cream. The combination is entirely up to you.
You need a 9-inch or 10-inch springform pan that’s at least 3 inches high. If you don’t have a pan this size, you can turn this into a quarter sheet cake using a 9×13-inch pan, or halve the recipe for an 8×2-inch square pan.
Whichever pan you use, line it with plastic wrap. Why? You will have a heck of a time slicing this frozen cake while it’s still inside the pan! You’ll want to completely remove the cake and place it on a frozen or cold cutting board or cake plate to slice. And, if using a springform pan like pictured, the plastic wrap prevents any melty ice cream leakage.
I made a slew of ice cream cakes the past month, determining the most successful (and non-melty) way to frost and serve this chilly dessert. Take my advice:
Here is the ice cream cake again with vanilla on the bottom layer. Have fun customizing your own ice cream cake using various flavors!
Yes—it can take the place of the bottom ice cream layer. Bake a cake in a 9-inch springform pan. I recommend the vanilla cake recipe from my homemade cake pops or the chocolate cake recipe from my chocolate cake pops. Both yield one 9-inch cake in a springform pan. After the cake cools, keep it in the pan, and freeze for 1 hour. Continue with assembling the remaining layers of the ice cream cake.
You can make this in a 9×13-inch pan, or halve the recipe for an 8×2-inch square pan. Be sure to line the pan with plastic wrap so you can easily remove the ice cream cake from the pan to slice it.
Yes, absolutely. Crushed crunchy chocolate chip cookies (homemade or store-bought), Nutter Butters, Nilla Wafers, graham crackers, and Biscoff cookies are some top choices. Any crunchy cookie works!
Yes. Reduce the ice creams to 1 quart each. Keep the hot fudge, Oreo, and whipped cream amounts the same. Your cake will be a bit shorter.
This crowd-pleasing dessert combines two of your favorite ice cream flavors, plus layers of crunchy Oreo cookies, homemade hot fudge, whipped cream, and sprinkles. Read the recipe in full before starting so you’re prepped, and don’t skip freezing the layers during the assembly process. A 9×3-inch springform pan, 9×3-inch pan with removable bottom, or a 10×3-inch springform pan is ideal for this cake. For other pan options, or to add a layer of baked cake, see recipe Notes below.
Source: https://sallysbakingaddiction.com/ice-cream-cake-recipe/